
Gaming has evolved significantly with modern technology, making classic games more immersive than ever. One such powerful combination that enhances the gaming experience is PPSSPP Pico Wiring HyperHDR. This setup improves PlayStation Portable (PSP) emulation using advanced lighting effects and high-resolution graphics, making old games look and feel more dynamic.
In this article, we will break down everything you need to know about PPSSPP Pico Wiring HyperHDR, including its components, benefits, setup process, and troubleshooting. If you love classic gaming and want to take it to the next level, this guide is for you.
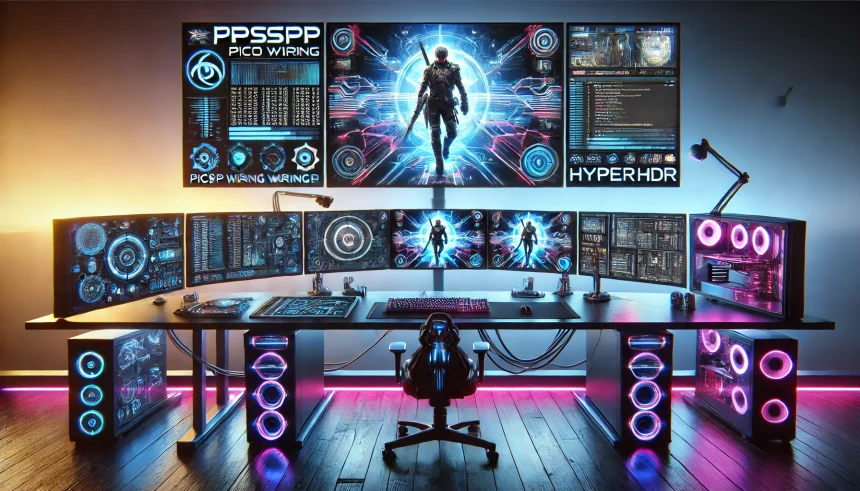
What is PPSSPP Pico Wiring HyperHDR?
Before diving into the setup, let’s understand the key components of this system.
PPSSPP – The Ultimate PSP Emulator
PPSSPP is an open-source emulator that allows you to play PSP games on Windows, macOS, Linux, Android, and iOS devices. It enhances old PSP games by increasing resolution, improving textures, and optimizing performance. With PPSSPP, you can experience classic games in HD quality with smoother gameplay.
Raspberry Pi Pico and Wiring
Raspberry Pi Pico is a microcontroller that can be programmed to control LED strips and other devices. In this setup, Pico Wiring refers to the process of connecting Raspberry Pi Pico to LED lighting, which reacts dynamically to the screen’s content.
HyperHDR – Bringing Dynamic Lighting to Gaming
HyperHDR is a software that processes high-dynamic-range (HDR) content and synchronizes it with LED lighting. When used with PPSSPP and Raspberry Pi Pico, it creates an immersive ambient lighting effect that enhances the gaming experience.
Together, PPSSPP Pico Wiring HyperHDR allows gamers to enjoy classic PSP titles with modern visual enhancements and synchronized lighting effects.
How PPSSPP Pico Wiring HyperHDR Works
The process works in three main steps:
- PPSSPP runs the game and upscales the graphics for better resolution.
- HyperHDR captures the screen output and analyzes color changes.
- Raspberry Pi Pico controls the LED strips, adjusting their brightness and colors based on what happens in the game.
This setup creates a dynamic gaming environment, making every explosion, movement, and scene transition more engaging.
How to Configure PPSSPP with Pico Wiring and HyperHDR
Now that you understand how it works, let’s go through the step-by-step setup process.
Step 1: Install and Configure PPSSPP
- Download PPSSPP from the official website and install it on your device.
- Open PPSSPP and adjust settings for the best performance:
- Increase resolution scaling to 2x or 4x for better visuals.
- Enable anisotropic filtering to improve textures.
- Use frame skipping if your device struggles with performance.
- Customize control settings for a smoother experience.
Step 2: Set Up Raspberry Pi Pico with LED Strips
- Get the necessary components:
- A Raspberry Pi Pico board.
- A WS2812B LED strip (or any other addressable LED strip).
- Power supply and connection cables.
- Install MicroPython or CircuitPython on the Raspberry Pi Pico.
- Write a simple script to control the LED strip based on the screen’s color.
- Connect the LED strip to the Raspberry Pi Pico using proper wiring.
Step 3: Install and Configure HyperHDR
- Download HyperHDR and install it on your PC.
- Open HyperHDR and configure it to capture your screen.
- Adjust settings to sync the LED strip with the screen’s brightness and color.
- Test the setup to ensure the LED lights react correctly to the game.
Why Use PPSSPP Pico Wiring HyperHDR?
There are several reasons why this setup is worth trying:
Improved Visuals
- PPSSPP enhances PSP game graphics with HD rendering and upscaling.
- HyperHDR improves contrast, brightness, and color accuracy.
Immersive Lighting Effects
- LED lights change dynamically based on what happens in the game.
- The lighting enhances atmosphere and realism, making games feel more engaging.
Cost-Effective Solution
- Raspberry Pi Pico is affordable compared to other lighting controllers.
- PPSSPP and HyperHDR are free and open-source, meaning no extra costs.
Customization and Control
- Adjust lighting effects to suit your preferences.
- Optimize PPSSPP settings for 60 FPS smooth gameplay.
Troubleshooting Common Issues
Even with a great setup, you might face some challenges. Here’s how to fix them.
LED Lights Not Working
- Double-check wiring connections between the LED strip and Raspberry Pi Pico.
- Make sure HyperHDR is properly configured.
- Restart the Raspberry Pi Pico and test again.
PPSSPP Performance Issues
- Lower resolution settings for older devices.
- Enable frame skipping if the game lags.
- Update your graphics drivers for better performance.
HyperHDR Not Responding
- Ensure the correct screen capture settings are selected.
- Restart HyperHDR software and reconnect the LED strip.
Final Thoughts on PPSSPP Pico Wiring HyperHDR
If you want to revamp your PSP gaming experience, PPSSPP Pico Wiring HyperHDR is an excellent setup. It combines HD gaming, immersive lighting, and real-time effects, making classic games feel brand new.
By following this guide, you can set up PPSSPP Pico Wiring HyperHDR easily and start enjoying enhanced visuals and ambient lighting. Whether you’re playing God of War, GTA, or Final Fantasy, this setup will bring your favorite PSP games to life in a modern and immersive way.
FAQs
What is the main purpose of PPSSPP Pico Wiring HyperHDR?
It enhances PSP gaming with HD visuals, real-time ambient lighting, and improved color accuracy.
Can I use any LED strip with Raspberry Pi Pico for this setup?
No, you need addressable LED strips like WS2812B for proper synchronization with HyperHDR.
Does PPSSPP Pico Wiring HyperHDR work on all devices?
PPSSPP runs on many devices, but HyperHDR and Pico Wiring work best on Windows/Linux setups.
Will this setup increase my gaming performance?
No, it enhances visuals and lighting but doesn’t boost FPS or hardware performance.
Is PPSSPP Pico Wiring HyperHDR difficult to set up?
It requires some wiring and software configuration, but step-by-step guides make it manageable.